 Solar Wire
Solar Wire
Step Two
Here's where I'm afraid I must be slightly vague.
Unsolder the LED. That's not vague. Just unsolder it, and try to leave holes in the circuit board where it used to be so you can attach something else in its place. (We will later attach two wires there, if your Cool Neon handpack doesn't have its own.)
I suppose if you want to be all prim and proper, you can take out the rechargable cells before doing that, but I didn't.
Here is the vague part: If there is a resistor leading to the middle wire of the switching transistor, replace that resistor with a wire. On the solar lamp I used, it was labelled R2 on the little circuit board, but there's no guarantees.

A transister, by the way, is a small black cylinder with three wires coming out of it. One of the wires feeds the LED, and the middle wire is the "switch" for it.
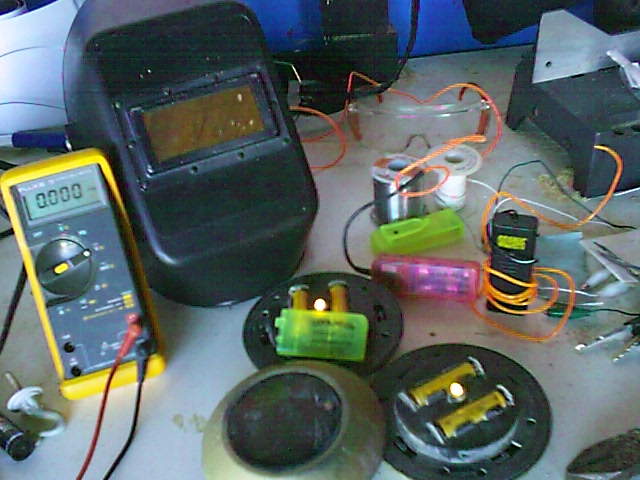
In the above picture, I've unsoldered R2, and poked a loop of white wire into the holes it left behind.
I found that replacing the resistor leading to that switch with just a wire brightened up the Cool Neon significantly. It wasn't absolutely necessary, though! One of them worked fine and bright without making that change.
On to Step Three...