Solar Wire
This page will describe how to build a solar-powered sunset-activated 4' strand of glowing Cool Neon (aka electroluminescent wire, or EL wire) out of junk you have lying around.
To Advanced Tinkerers: The only content of merit for you, the advanced tinkerer, is that it's easy to attach a Cool Neon strand to a solar garden lamp. You can read these instructions if you want, but it's all pretty easy. Crack open the parts secure in the knowledge that it'll all just work fine.
To Other Tinkerers: If you build this, I'd love to hear from you. Or if you have any questions... poly@omino.com, must have "solar wire" in the subject line, or my spam filter will ignore it.
Ingredients
Warning!
This procedure worked for the particular solar lamps I got. I haven't looked inside others to see how similar they are. You may need to futz around and experiment to determine the equivalent steps. Again, check with your smarter girlfriend for guidance here.
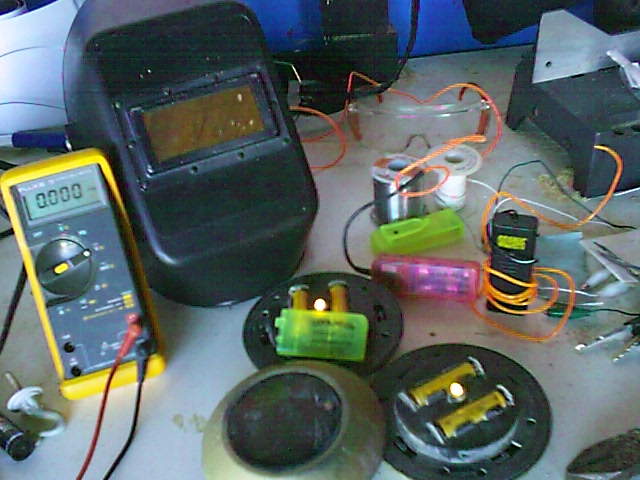
Preparation
Once you know the routine, these take about 5 minutes. My first one took 20. Clear your mind for basic problem-solving, and use a clean well-lit workbench.
 (Artist's rendering)
Read all the instructions once before you start. You know the drill.
On to Step One...